This post contains affiliate links, to learn more, see my Disclosure Statement.

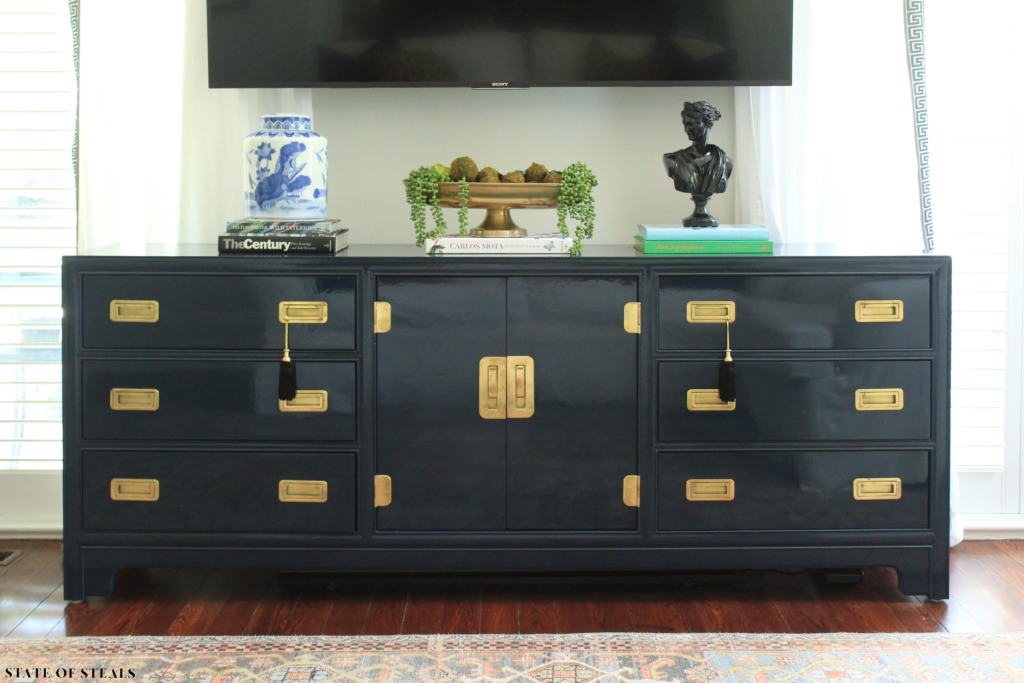
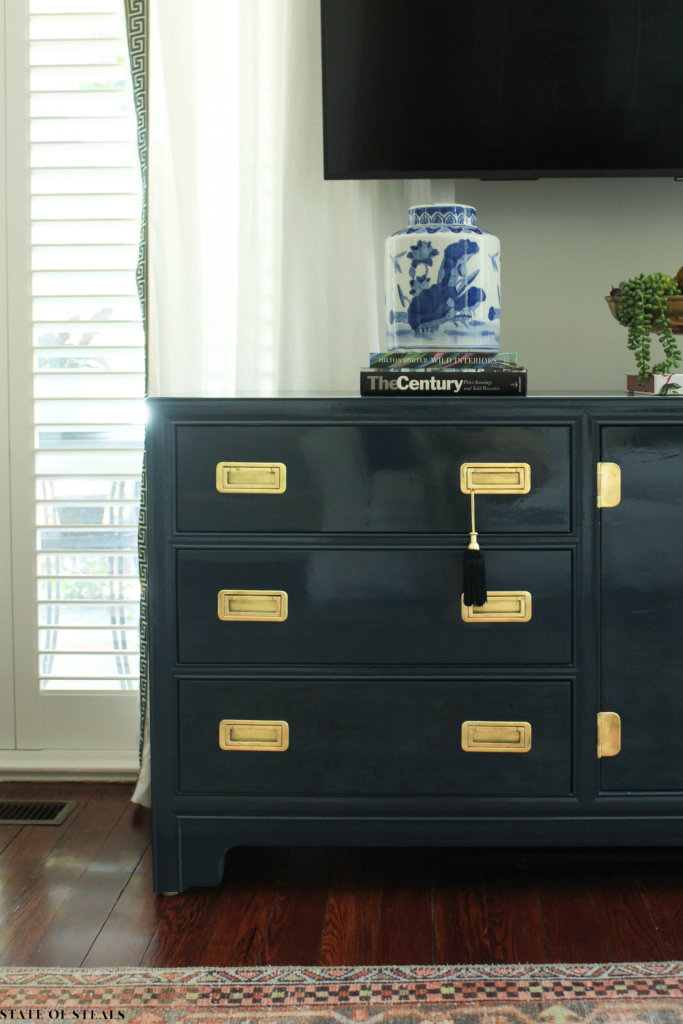
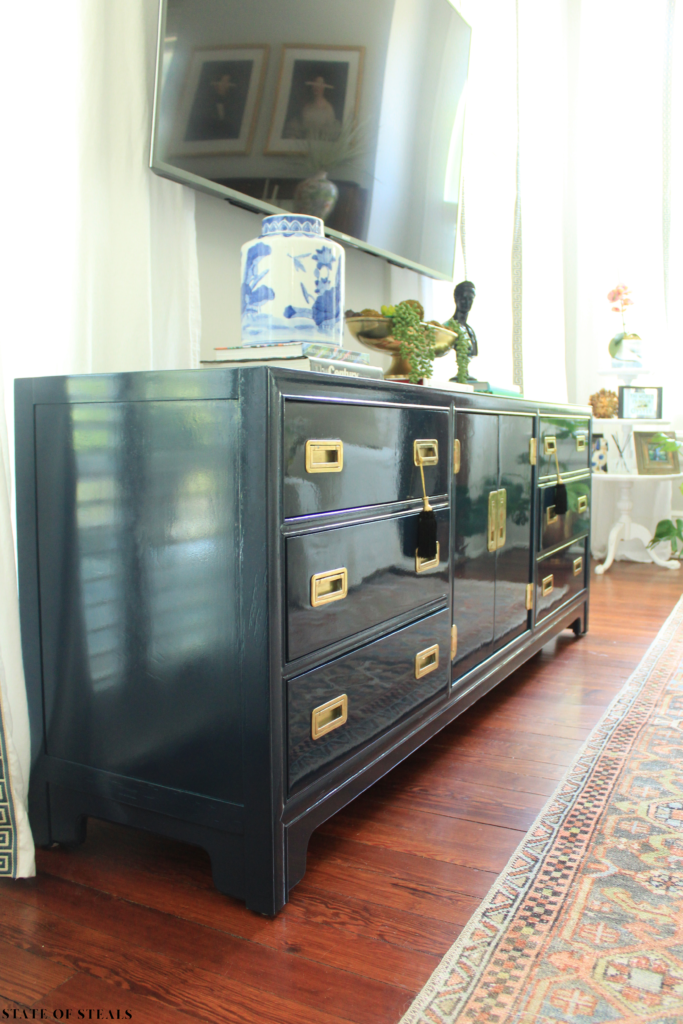
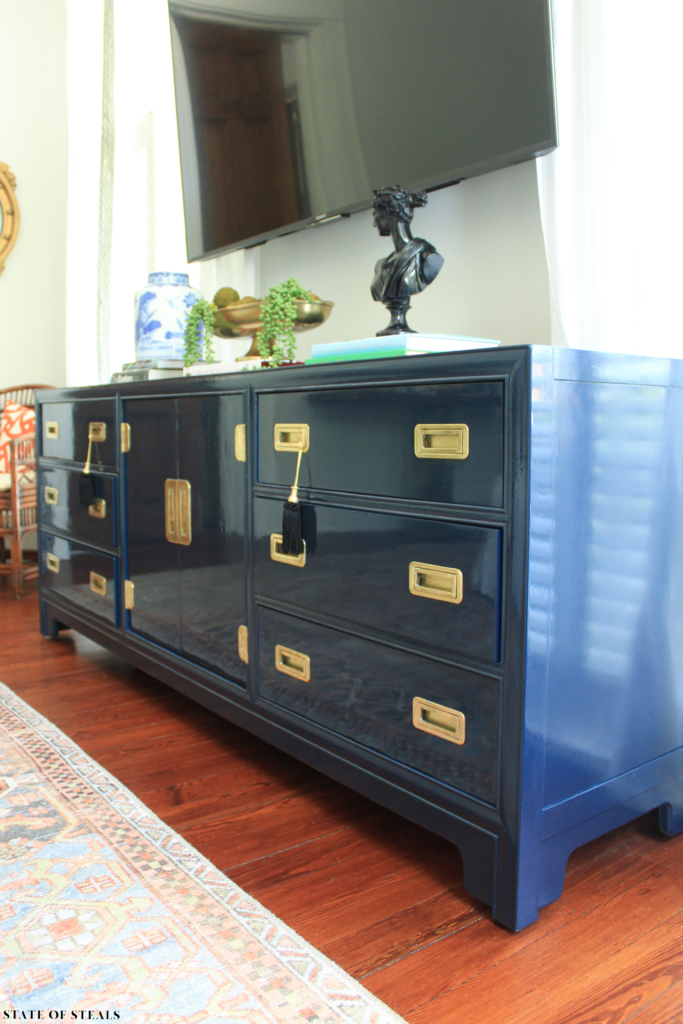
I was determined to have a navy Campaign style dresser as my living room TV console and the ready-made versions were out of my budget. I first bought an unfinished Ikea dresser that I painted and added campaign hardware to, but honestly, it was an Ikea-hack fail. So I was super pumped when I saw this dresser at an estate sale and for $350 I snagged this diamond in the rough. And boy was it really rough!
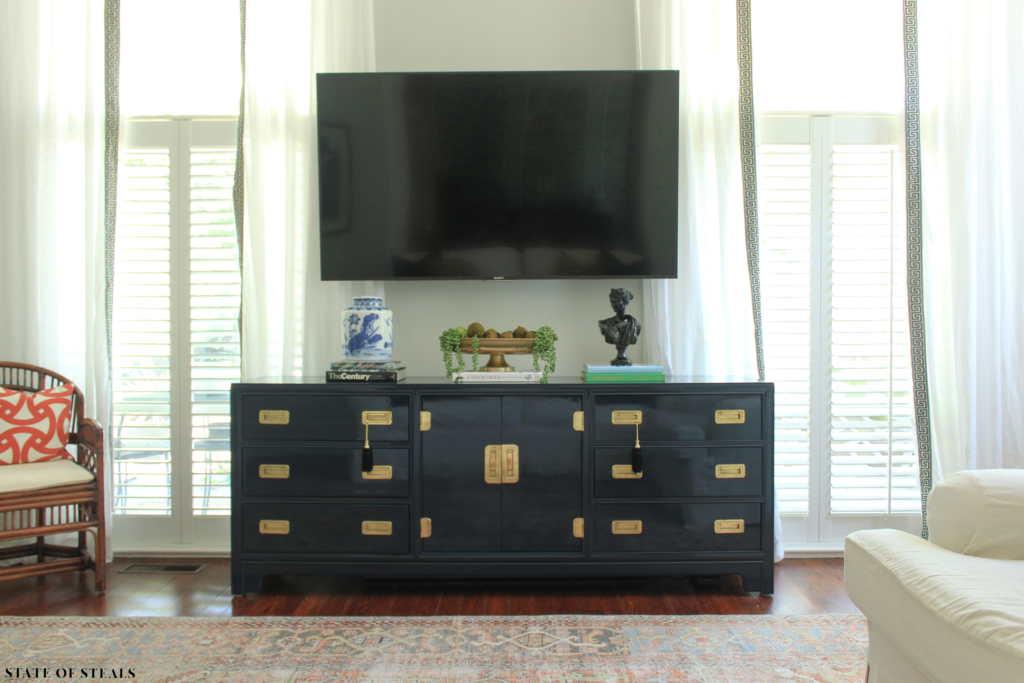
I wanted that high shine, lacquered painted look so I searched the internet for DIY furniture lacquering and the tutorials were great, but there were a few dirty details that I discovered the hard way so I bring you my honest furniture lacquer-ing guide.
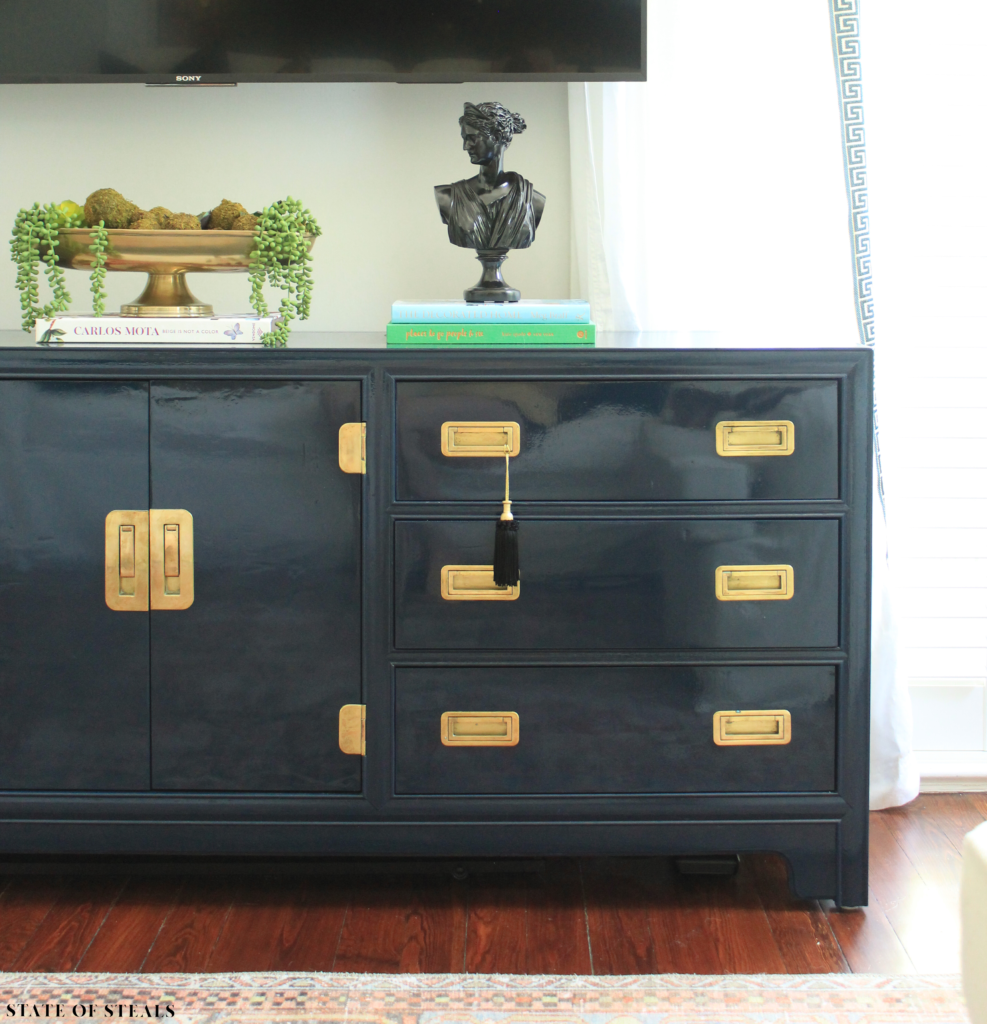
This DIY project is not for the faint of heart. I’m going to say you need to be an advanced weekend warrior to attempt this.
SUPPLIES
- Electric Sander – buy here
- Mouse Sanding Pads in 80, 120, 600, 800, 1,000 grit – buy here & here
- Finger Sander – buy here
- Citra-Strip Paint Stripper – buy here
- Gloves for Paint Stripping – buy here
- Paintable Wood Filler – buy here
- Putty Knife – buy here
- Spray Shelter – buy here
- Paint Sprayer – buy here
- Half Mask Respirator – buy here
- Painting Tarps
- Practice Wood/Cardboard
- Disposable, Small Paint Mixing Container
- Paint Thinner – buy here
- Mineral Spirits – buy here
- Primer: Fine Paints of Europe Oil Primer/Undercoat* – buy here
- Finish Paint: Fine Paints of Europe Hollandlac Brilliant 98* – buy here
*When ordering the Fine Paints of Europe (FPOE) Primer and Hollandlac finish paint, you’ll want to closely estimate how much you’ll need based on the size of the job you have ahead. I calculated the surface area of my dresser in square feet and multiplied that by the number of coats. FPOE indicates that the primer will cover 120 SF for the 0.75L container which was plenty for 2 coats and the finish will cover 126 SF in the 0.75L can. Because I ended up doing nearly 4 coats in some spots, I used up every last drop of the 0.75L can so I wish that I would have sized up on the finish paint. I recommend reading FPOE’s website for additional tips and instructions on how these paints will behave.
SUPPLIES YOU WON’T FIND AT A STORE
- A Garage – Which I did not have so I had the pleasure of hauling this in and out (up a few stairs) weekend after weekend. I don’t recommend doing this project if you’re sans-garage, but if you’re stubborn like me, proceed anyways.
- PATIENCE – This project will take so much longer than you would like it to. I don’t recommend trying to squeeze it in before visitors come to town.

THE DEVIL IS IN THE PREP WORK
STEP ONE
Remove the hardware. Screw the knob hardware back together to keep up with everything. Bonus points for labeling which door/drawer the hardware corresponded with because they may have very slight dimensional variation that you realize later. My piece had brass hardware that was tarnished so, once removed, I polished each piece with Brasso.
STEP TWO
You need to rough that piece up a little. Lacquer paint will show EVERYTHING texture-wise. Think of it as wearing thin white leggings when you’re in more of a “winter body” state.
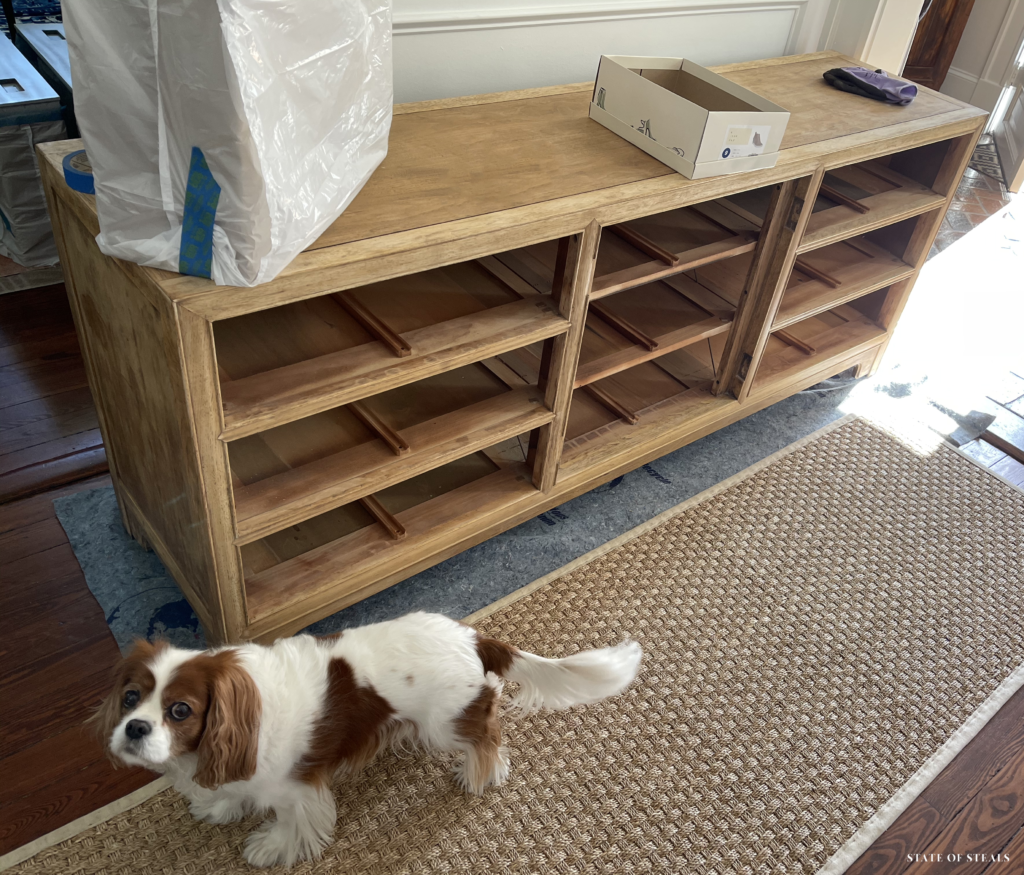
My dresser had an Asian motif painted on the doors and drawers and the paint had some dimension to it so I needed to get the doors and drawers completely smooth. I began sanding with 80-120 grit (the bigger the grit number, the more fine the sanding is). It also had a sticky varnish on it that was gunk-ing up my sander so I opted to chemically strip the piece.
If your piece will sand easily, sand with a handheld electric sander, and use a finger sander for some of the detailed areas (tight and rounded edges).
If you’re running into issues sanding, you may need to escalate to chemically stripping it. I always use Citra-Strip for stripping as the gel makes it easier to handle than liquid stripper. Once you’re done stripping, clean with mineral spirits and allow the piece to completely dry. Stripping sucks, it should be a last resort.
You don’t need to get the piece down to raw wood, but you do need to get it to a smooth, flat finish. In my case, that required getting it down to raw wood.
STEP THREE
Any knots in the wood, scratches with dimension, or even pin-point size holes will show in the lacquer finish. Raw wood knots especially will leach through the final finish. Patch any imperfections with wood filler. Wait for the filler to dry per the instructions and sand it flat. FPOE indicates that wood knots should be both patched and sealed prior to painting.
I was conservative with patching holes on my piece and wish now that I would have done 20x as much patching. There’s no such thing as too much patching.
STEP FOUR
Tape it up. My dresser had a total of 9 drawers and I was not planning to paint any part of the drawers other than the face. I used cheap garbage bags and painters tape to cover the drawer bodies. I also taped over the channels that the drawers slide on in the dresser body so that they would still open smoothly once painted.
PRIME TIME
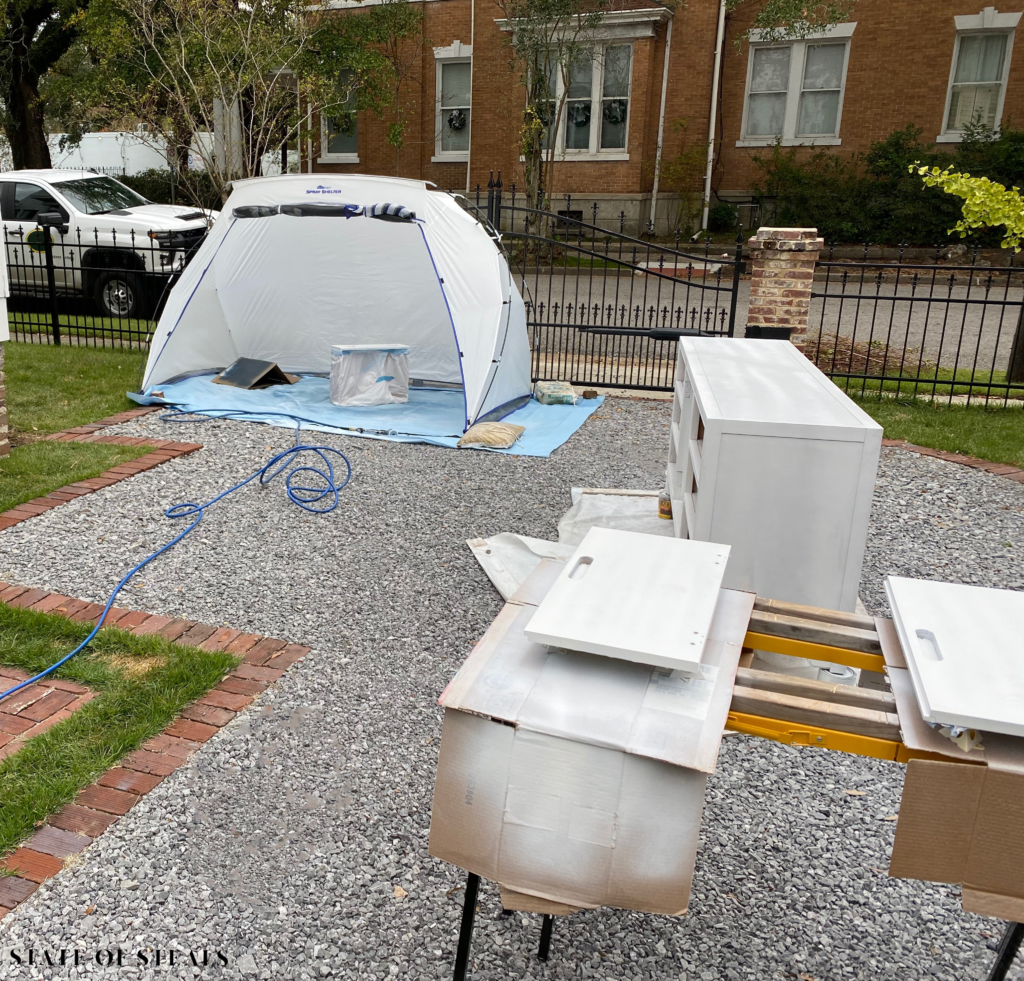
Safety first: I wore a half mask respirator and eye protection because the fumes from the thinned paint were intense, even when working outside. The paint droplets flying around were so fine that they were landing in my hair and I looked like I had grey hair. Cleaning up oil base paint is the worst, so I wore long sleeves and disposable gloves so I didn’t need to bathe in mineral spirits after each paint session. Be prepared to get messy.
STEP FIVE
Thinning the Paint: All of the tutorials I read said that you do not need to thin the paint to spray it. (They lied.) Even though I bought a spray gun that was compatible with oil and lacquer paint, my primer was coming out looking like a popcorn ceiling. The goal is for it to come out like it would from a can of spray paint.
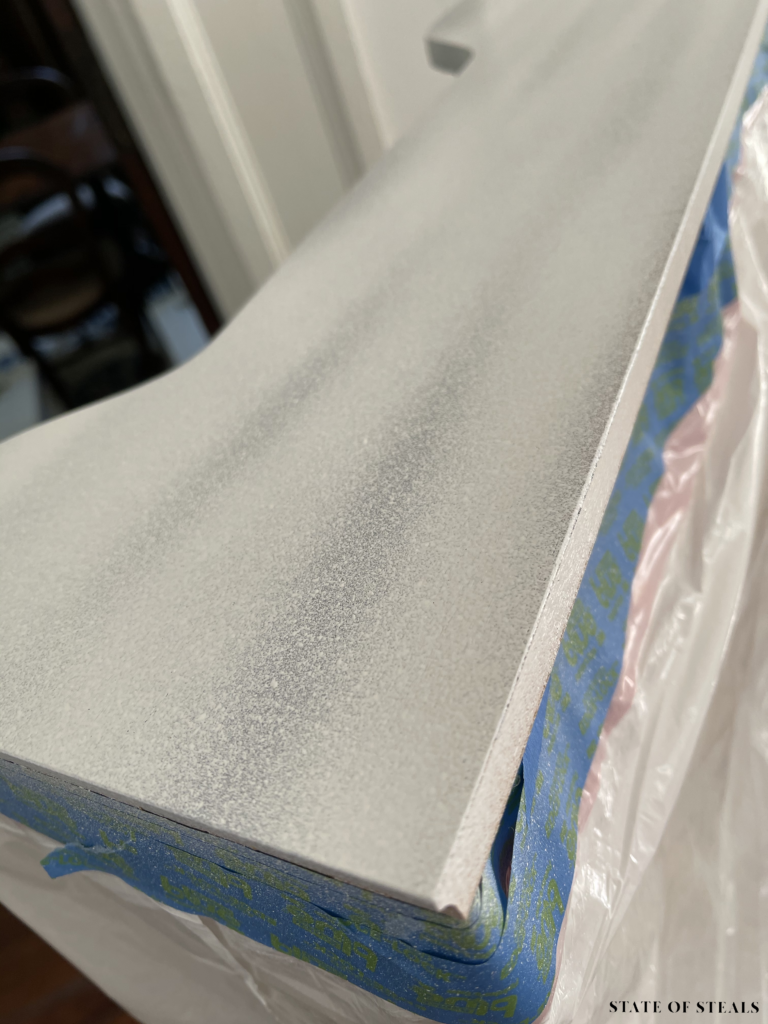
Before thinning your paint, play with the pressure settings on your air compressor and gun. The higher the pressure, the smaller the paint droplets in the air, and the smoother the finish. The sweet spot for me was having the pressure coming into my sprayer at around 60 psi (even though the sprayer said 40 psi max), setting the sprayer to high paint-to-air ratio, and setting the sprayer pressure on the high pressure end. Note this will vary depending on your sprayer, air compressor, and air hose. This is where practice cardboard comes into play.
I thinned it to be about 10:1 paint-to-thinner, the goal is for it to have the consistency of heavy whipping cream. You can always add more thinner so start conservative and add more as needed. Thin the paint in a separate container so it’s easier to stir and mix before pouring into your paint sprayer.
I recommend tinting your primer to be closer to the finish paint color. FPOE now offers tintable primer.
USING THE PAINT SPRAYER
If you’re not familiar with working with a paint sprayer, I recommend watching YouTube videos on your particular sprayer for spraying techniques. This was my first time using a paint sprayer (seriously, what was I thinking?) and it’s a unique motion. When spraying, you want to make an elongated, gentle arch over the surface. Spray about 6 inches off the piece. Start by spraying almost parallel to the surface, off the edge of the surface, then using a sweeping motion, do a stroke over the surface. At the end of the stroke, begin to tilt the sprayer back to parallel, making a long arch. The beginning and end of each spray stroke should start and stop in the air. You’ll want to spray in stripes/lanes vs. going back and forth like a zig zag over and over. Gentle approach and gentle lift-up are the key in the spray strokes for seamless blending between spray strokes.
Avoid spraying the same spots over and over in one coat, which will cause thick wet paint and drips. The goal is one sweep of an area per coat.
In my case, my air compressor was a little undersized for this project so it would lose pressure with too much spraying. I would take a breather for it every couple of strokes and let the pressure catch up. Watch your psi gauge on the sprayer to monitor if it’s dropping.
STEP SIX
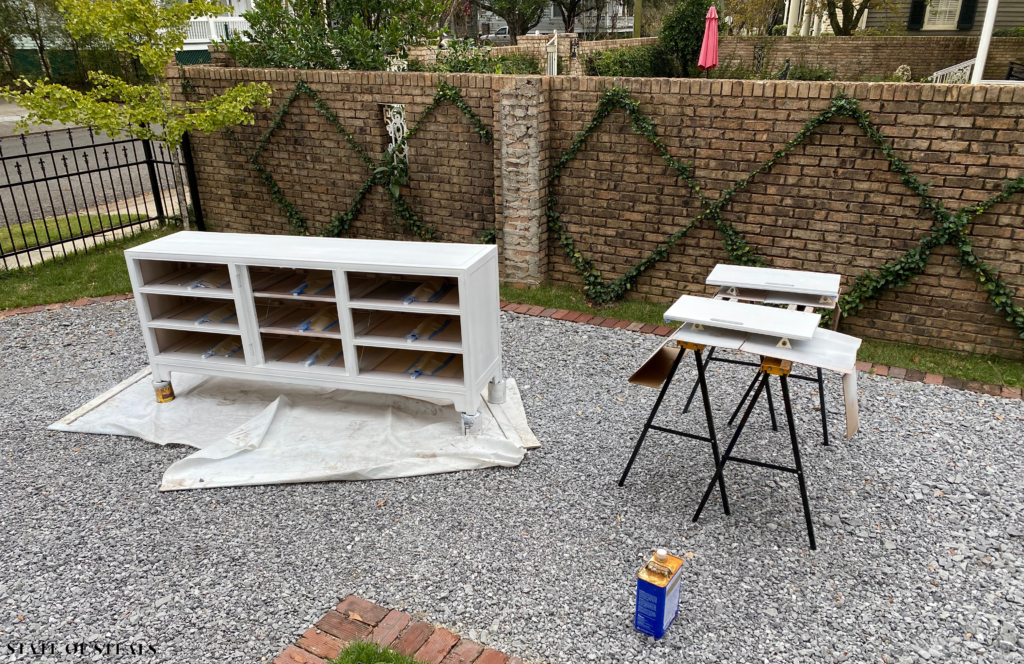
Get to spraying! Remember: The goal isn’t to get 100% coverage in each coat. Multiple thin coats are better than a thick coat. Spray the first coat of primer and wait for it to dry, at least 8 hours, but I prefer to wait a day.
STEP SEVEN
Lightly sand the primed areas to get a smooth finish using 600 grit paper. Dust and wipe down to get rid of all paint dust.
STEP EIGHT
Prime a second time. Once dry, sand again with 600-800 grit paper and clean up. The end result after priming should be all wood is covered and primer is smooth. You may notice some areas that need wood filler after priming so patch and re-prime as needed.
STEP NINE
After each session using your paint sprayer, clean the sprayer thoroughly with mineral spirits to get all of the oil based paint out of it. I also blasted it with my hose to rinse off the mineral spirits at the end of each cleaning. Make sure the paint sprayer is completely dry before you use to for paint, as it can create droplet marks in your paint if any water mixes with the oil paint. For me, it took a couple of days for my sprayer parts to dry, but luckily my sprayer kit came with 2 sprayers so I could alternate. Warning: The sprayer clean up took me about 30 minutes each time. Cleaning was the worst part.
IT’S ABOUT TO GET PRETTY
STEP TEN
Thinning the Paint: Again, everyone including the paint manufacturer said not to thin the finish lacquer paint, but my consistency wasn’t right. I was getting that popcorn-ceiling, sputtery look with the Hollandlac paint not thinned. The manufacturer recommends warming the can of paint by letting the can sit in hot water for 15 min to naturally thin it. I tried that, didn’t make enough of a difference so I did the forbidden (gasp), and thinned it. Hint: It worked!
Thin the paint in a separate container so it’s easier to stir and mix before pouring into your paint sprayer. I used about the same ratio as I did for the primer. Start with a small batch of finish paint and primer because that sh*t is expensive and if you botch this batch you have room to play and perfect your paint to thinner ratio. Again, the amount of thinner needed will vary based on your paint sprayer. Do some more test sprays. This finish paint behaves differently than the primer so you may need to tweak the pressure settings too.
STEP ELEVEN
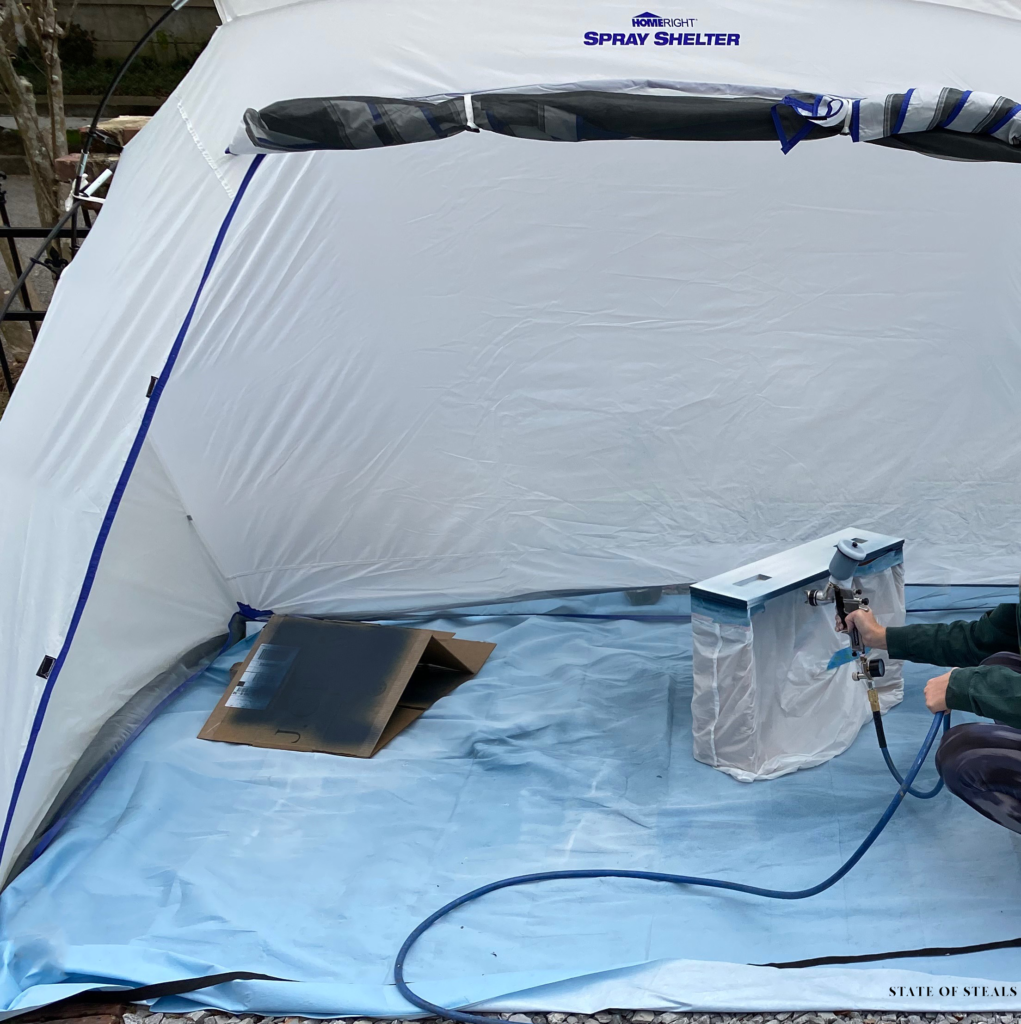
Spray on that beautiful color! I found myself not breathing as I did this because I was so scared of messing up with this expensive paint. (Breathing is recommended.) Let the first finish coat dry, about a day.
STEP TWELVE
Sand the first finish coat with 1000 grit sand paper. This will take off the shine, don’t be horrified, you will paint it again. Sanding the lacquer paint will look like taking a nail file to a gel manicure. Do this so that the next finish coat has a good surface to bond to. Dust and wipe down all surfaces with a microfiber cloth.
STEP THIRTEEN
Repeat step No. 11, spray on another (thin) finish coat. Let the second finish coat dry, at least a day.
How’s it looking? All primer covered and smooth finish? If so, by some miracle, you’re done. However, I ended up doing 3-4 coats of the finish paint to get the coverage I wanted. Repeat the mantra:
“Multiple thin coats are better than a thick coat.”
You will think you don’t have it in you mentally or physically to paint and cleanup another day but hang in there, you want to do this the right way so you’re happy with the results.
My piece had a handful of spots that, for some reason, weren’t getting covered by spraying the paint and the primer was showing through. I used a teeny-tiny paint brush to gently touch up by hand right after I finished spraying a coat. These touch-ups didn’t quite blend with the surrounding area so once dry, I lightly sanded and sprayed the area with an additional coat.
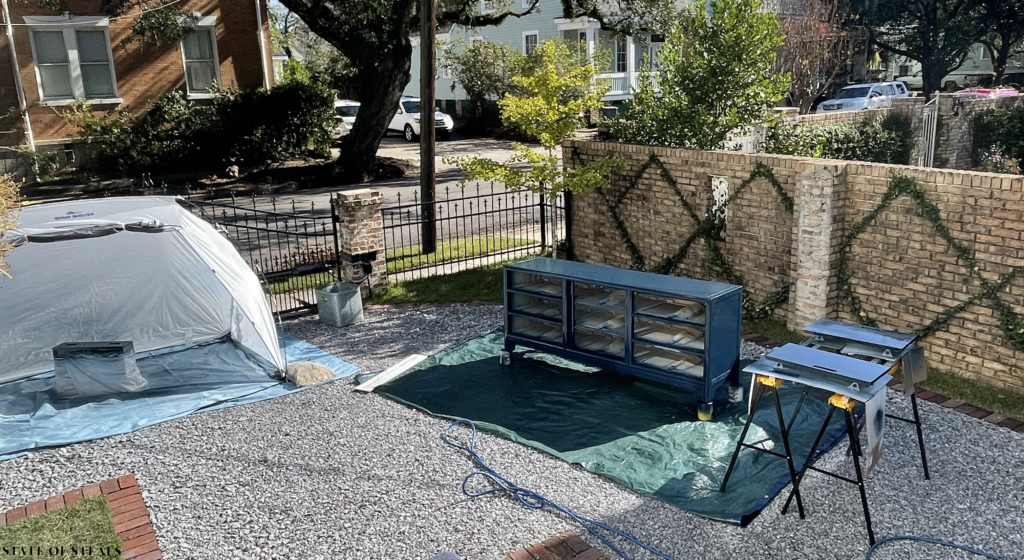
STEP THIRTEEN
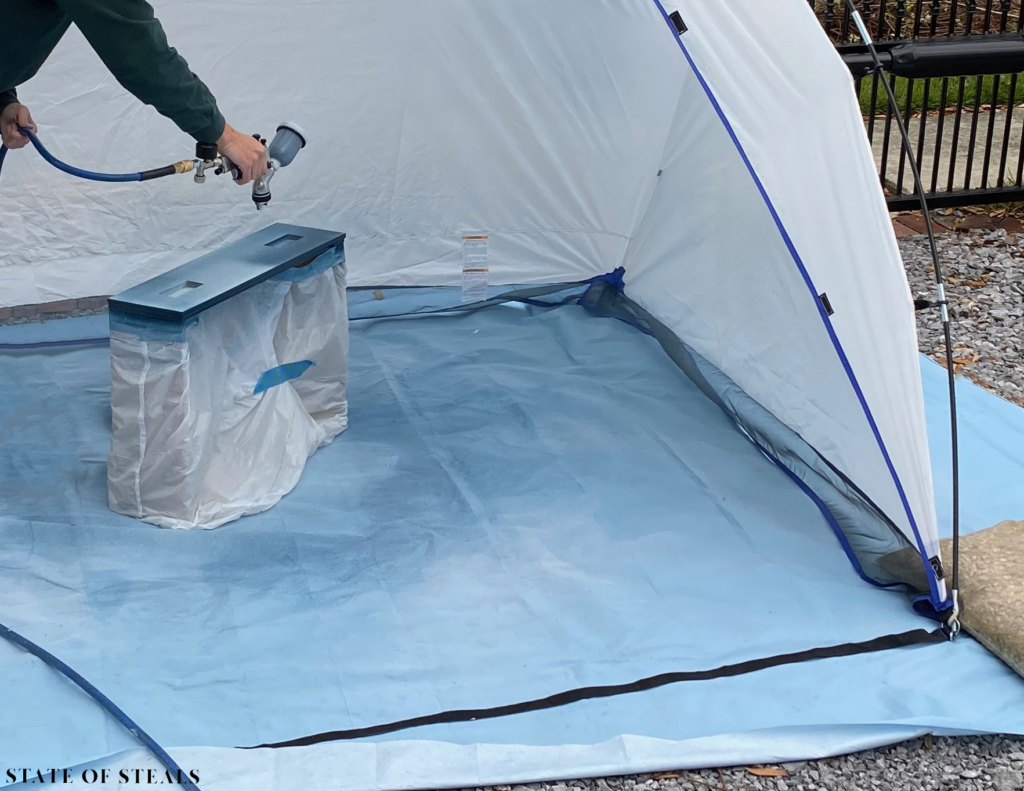
On the final finish coat, do not fine sand it. I know that sounds obvious but it was a legitimate question I had. Let this puppy dry to a hardened finish before handling. I let mine sit outside in a spray shelter tent for 2 days because the last thing you will want are handprints in the tacky paint when you go to move it. With my spray shelter tent set up in my yard for days, my neighbors actually asked if my husband was in the doghouse.
THE WAITING GAME
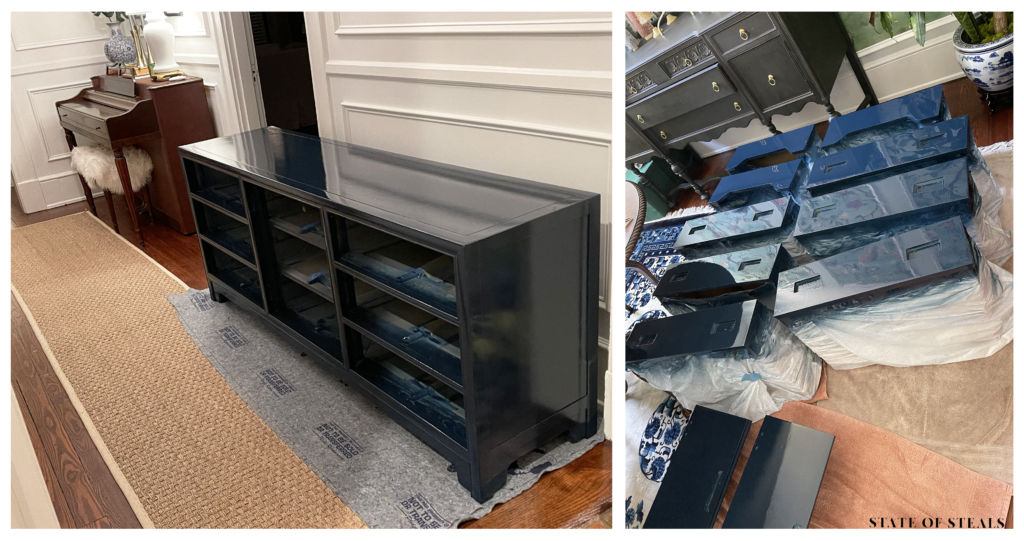
Once the piece is dry (at least 2 days), move it indoors so it’s not subjected to humidity. I allowed my piece to sit indoors for a week before installing the hardware back on it. My piece serves as a TV console in my living room so I planned to set decorative objects atop it. I let this console sit naked with nothing on it for at least a month. I’ve made the mistake in the past of setting heavy objects on new-ish paint and experienced the horror of moving the object to find paint stuck to it. I don’t know the science behind this, I was just terrified to mess up the paint if it were remotely tacky or not 100% cured so I played the waiting game.
If you’ve made it this far in the tutorial, you deserve a treat…and your treat is a glimpse of my reality of lacquering my first piece of furniture. Here I am in all of my glory, beautiful painting clothes to boot, expressing my feelings of working on this project for the umpteenth weekend.
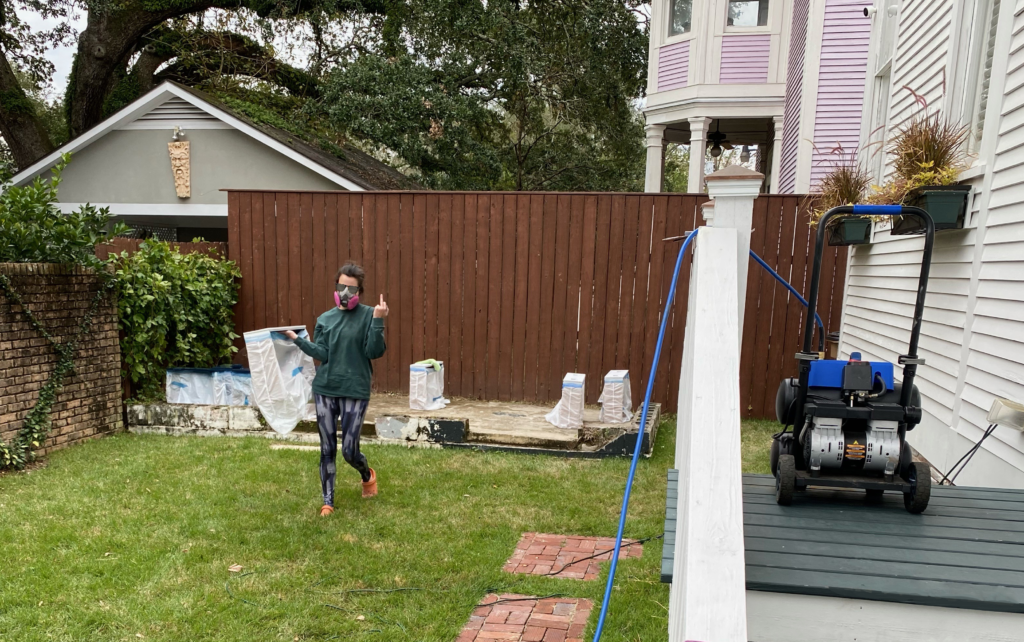
If you don’t DIY in Crocs, are you really a DIY-er??
All jokes aside, I’m super happy with how my console turned out! All of those painstaking steps yielded a fabulous finish product. Now I know why lacquered furniture is so dang expensive, it’s all those [wo]man-hours! I’ve even caught myself considering lacquering other furniture.
